[dsm_image_carousel gallery_ids=”3127,3077,3024″ gallery_orderby=”rand” slide_to_show=”5″ arrow_background_color=”#FFFFFF” _builder_version=”4.10.4″ _module_preset=”default” background_color=”#FFFFFF” module_alignment=”center” global_colors_info=”{}”][/dsm_image_carousel]
[dsm_image_carousel gallery_ids=”3878,3876,3874,3880″ gallery_orderby=”rand” slide_to_show=”6″ arrow_background_color=”#FFFFFF” _builder_version=”4.10.4″ _module_preset=”default” background_color=”#FFFFFF” module_alignment=”center” custom_margin=”||-72px|||” global_colors_info=”{}”][/dsm_image_carousel]
itour SmartGuide Tutorial
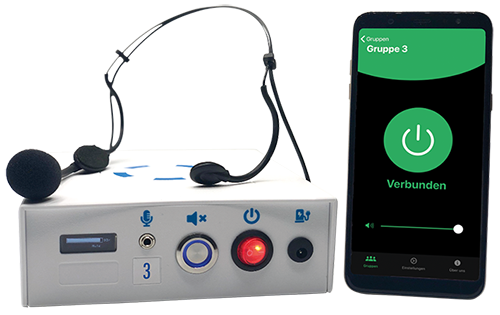
Components
Besides the transmitter
itself, you get a suitable
charger, a microphone, and
a carrying bag.
itself, you get a suitable
charger, a microphone, and
a carrying bag.
Charging
Before starting the tour, make
sure the transmitter is fully
charged.
sure the transmitter is fully
charged.
Logo facing front
Put the transmitter in its
carrying bag with the controls
facing up and the logo facing
the front of the bag.
carrying bag with the controls
facing up and the logo facing
the front of the bag.
Plug in
Plug in the microphone and
connect your own phone
connect your own phone
Carrying safely
For safety reasons always
carry the transmitter in its own
bag
carry the transmitter in its own
bag

[dsm_masonry_gallery gallery_ids=”4382,4384,4392,4395,4397″ columns=”2″ _builder_version=”4.10.4″ _module_preset=”default” global_colors_info=”{}”][/dsm_masonry_gallery]


